Part 1: Using The Imaging Source Cameras for Industrial Applications
Introduction
The Imaging Source USB and FireWire CCD cameras extend beyond standard applications into industrial settings. These scenarios often require a trigger input along with general digital I/Os, features present in specific camera models.
For USB cameras, look for product codes containing “BU” (e.g., DMK 21BU04 or DFK 41BU02.H). FireWire cameras feature the same functionality if their code includes “BF”, such as DMK 31BF03-Z or DBK 41BF02.
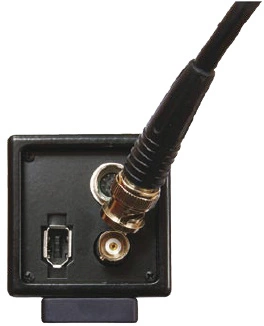
All compatible cameras include a BNC connector for easy trigger access. Digital I/Os are accessed via pin headers, which may vary by model. Some cameras offer an external 12-pin Hirose connector with the “.H” suffix in their product code (e.g., DMK 21BU04.H), simplifying digital I/O integration.
This series explores using The Imaging Source USB and FireWire cameras that support external triggering and digital I/Os, guiding you through practical implementation steps.
Getting Started
To use the trigger input, follow these basic steps:
-
Configure the camera according to its accompanying Getting Started guide.
-
Install IC Capture software as per the documentation.
-
Verify camera functionality with IC Capture before proceeding.
-
Connect a trigger source producing a positive pulse (typically 3.3V-12V) to the BNC connector on your camera.
-
Enable external triggering through Device > Properties… > Device settings, and disable all property automations if prompted by an “Activation External Trigger” dialog.
-
Configure camera parameters manually according to your application requirements using the Device Properties dialog (Device > Properties…).
Stay tuned for more detailed guidance in upcoming parts of this series.
Last Updated: 2025-09-05 02:13:22